Making Your PET Blowing Machine Actually Work With Your Heaters
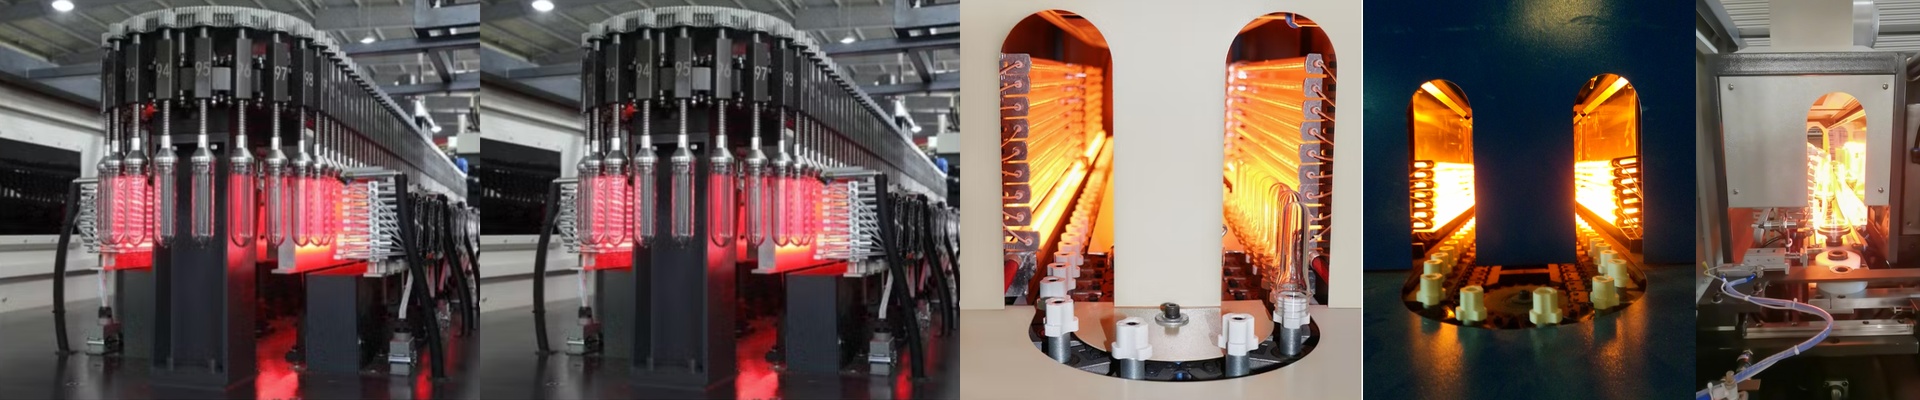
We’ve spent a lot of time making sure our infrared lamps just work. No matter who built your PET blowing equipment, there’s a 95% chance our lamps will slide right in. We didn’t do this by making some generic, mediocre part. Instead, we looked at the electrical and physical bits that every brand uses and just nailed those standards.
The heat, the power, and the pitfalls
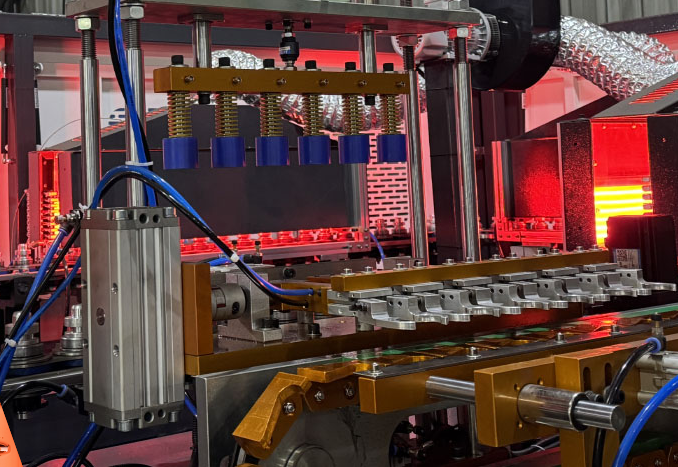
Here’s the thing about heating a PET preform: you need it hot, and you need it fast, but you can’t melt the neck. To pull that off, we use high-wattage tubes—often hitting 2500W—paired with 400V systems. It gets the lamp up to temperature in a flash. But a quick heads-up: check your power supply. If your cooling fans are weak, all that extra heat can build up and trip the breakers in your control cabinet. It’s a pain to deal with, so make sure your airflow is solid before you swap them out.
The nitty-gritty on the hardware
When it comes to the actual fit, we keep it simple. We use R7s and Sk15 connectors because that’s what the industry uses. If the connector fits and the length is right, you’re done in a few minutes. No swearing, no forcing things into place. Inside the tube, we use heavy-wall quartz glass with a special reflective coating. This is the secret sauce. It pushes the heat forward into the plastic instead of letting it leak back into your machine frame. Plus, we fill them with halogen gas. It keeps the filament from burning out nearly as fast as those cheap, non-halogen bulbs you see everywhere.
Real-world performance
Industrial blow molding is brutal. The rapid heating and cooling cycles can crack cheap parts. We’ve focused heavily on the end-caps so they can expand and contract without snapping. If you’re running a line with a mix of different machine brands, you’ll notice something nice: the output is consistent. Because the shortwave heat is so steady from lamp to lamp, you can tune your oven zones without guessing. You just set it, and it stays put.